


What Hair Is Easy to Install at Home?
Quick answer: the easiest hair to install at home is pre-looped or pre-separated crochet hair over a simple cornrow base — pre-looped in water wave or deep wave knots straight onto the row with no extra ties. For a first install, choose a mid-back length in a defined texture and keep the quantity at the lower end of the range.
This guide covers the format choice, the install order a beginner can follow, and the mistakes that make a home install harder than it needs to be.
The Format That Installs Safest
| Format | Install effort | Best for |
|---|---|---|
| Pre-looped crochet | Loop onto the base row, no ties | First installs at home |
| Pre-separated crochet | Strands ready; still needs looping | Second installs and up |
| Feather crochet | Light, flexible sections | Thin edges, sensitive scalps |
| Bulk hair | Needs sectioning and tying | Braider-led installs |
The Beginner Install Order
- Start clean: wash and dry the cornrow base the day before.
- Keep the part simple: straight-back rows are easier to keep even than complex patterns.
- Loop, don’t pull: pre-looped hair loops onto the base; tug to tighten, never yank.
- Check edges early: keep the hairline rows looser than the crown.
- Stop and fix: if a row is uneven, take it out and redo it before moving on.
For the full step-by-step, see how to install crochet hair on thin edges without tension — that covers the edge specifically.
What Makes an Install Hard (and How to Skip It)
- Complex parts and feed-in patterns — skip on the first time.
- Extra-long or extra-dense sets — they fight back and take hours.
- Doing the whole head in one sitting — split it into two sessions.
How Much Hair to Buy
Follow how many packs for a full head: mid-back usually takes 3–5 packs. For a first home install, buy one extra pack for mistakes and texture matching, and practice on one row before committing to the head.
FAQ: Easy Install at Home
Can I install knotless braids at home? Knotless is an install method where the extension is sewn into the cornrow without an obvious knot at the root. Pre-looped hair is the easiest format to learn with because each strand is already looped and just pulls onto the base; many home installers start pre-looped and move to pre-separated or knotless methods on their second set. If the goal is the first successful install, choose pre-looped in a defined texture and keep the part straight and simple.
How long does a first install take? As a planning range, expect roughly a half to a full day with breaks for a standard head, more with kids or very long hair; splitting into two sessions keeps the rows even and the neck from aching.
Do I need special tools? A crochet hook or latch hook and hair ties are the basics; pre-looped formats need no glue or clips.
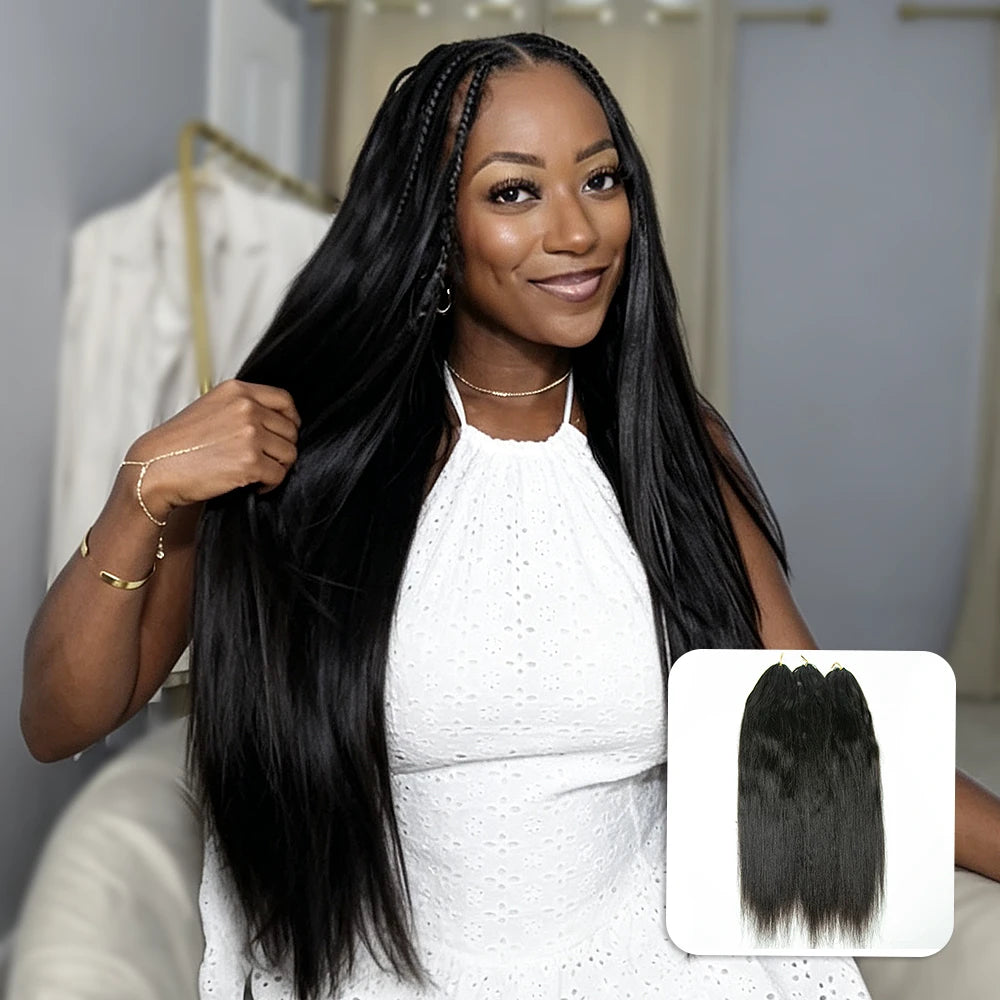
How We Evaluated This Guide
We compared the current Ywigs formats by the preparation a home installer has to do — looping versus sectioning and tying — and by how forgiving each is on a first attempt. Pre-looped wins on both, which is the basis for the recommendation above.
Related Guides
- How to install crochet hair on thin edges without tension
- How many packs for a full head of crochet hair
- Browse the crochet hair collection
Session Planning for a First Install
Split the head into two sessions and stop at a natural break, like after the crown row. A fresh installer loses focus after about two hours, and mistakes from fatigue cost more time than a planned break does. Schedule the second session the next day so the base has time to settle between rows.
Use a hand mirror plus a wall mirror for the back rows, and keep one photo of the part line from the front so the rows stay even on both sides. The two-session plan also gives you a test night: sleep on the first half before starting the second, and adjust edge tension before the set is complete.
Why Texture Changes How Easy the Install Is
The format decides how the hair attaches, but the texture decides how patient you have to be during the install. A defined wave like water wave forgives an uneven part because the wave pattern hides small inconsistencies; a tight coil like kinky curly shows every skipped row and takes longer to blend. If this is the first install, that is a real reason to pick a defined or loose wave over a tight curl, even if the final look you want is curly — you can switch textures on the second set once the base rows feel natural.
The color choice also affects the learning curve: a single solid shade it is mat intermingled with your natural hair, while a two-tone or ombre set spends more time on piece placement and blending. Keep the first set single-color so the install practice focuses on rows, not on shade placement; two-tone blends are an easy second-set upgrade once the base feels natural.
